Formatting an Excel Worksheet Professionally
Join over 2 million professionals who advanced their finance careers with 365. Learn from instructors who have worked at Morgan Stanley, HSBC, PwC, and Coca-Cola and master accounting, financial analysis, investment banking, financial modeling, and more.
Start for Free

In this article we will show you how to give a good-looking initial formatting to an Excel spreadsheet.
Pro tip: Don’t feel like reading a tutorial? Try our free AI study buddy now—it can show you where to click.
Please feel free to download the spreadsheet files we will use in this article:
This is how a blank sheet looks like when you open a new Excel file.
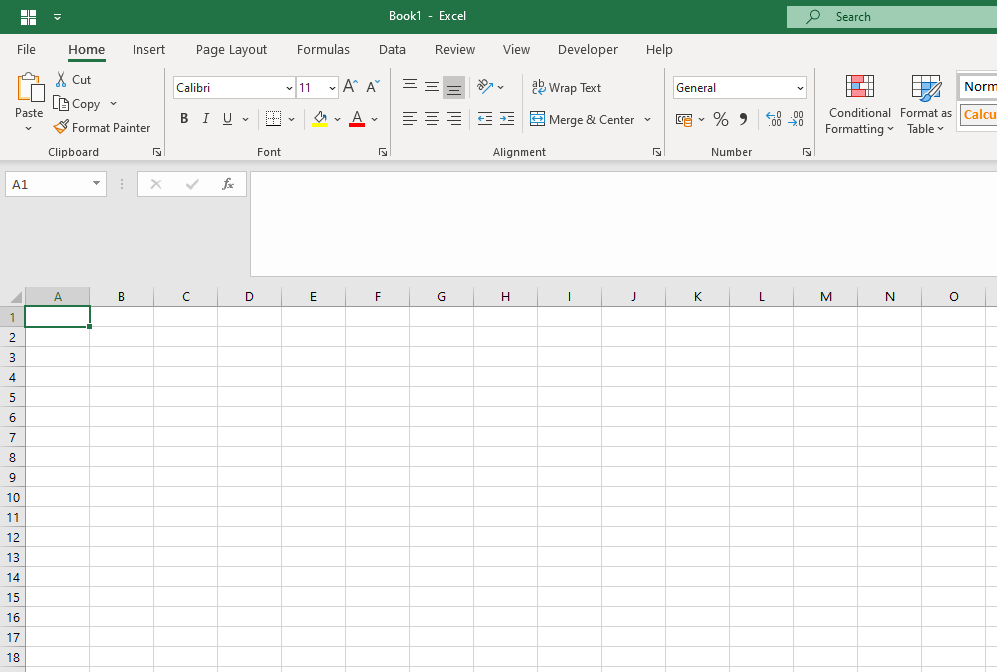
What we want to do is to render it as clear and professional-looking as possible from the beginning of our work. Therefore, let’s do the following.
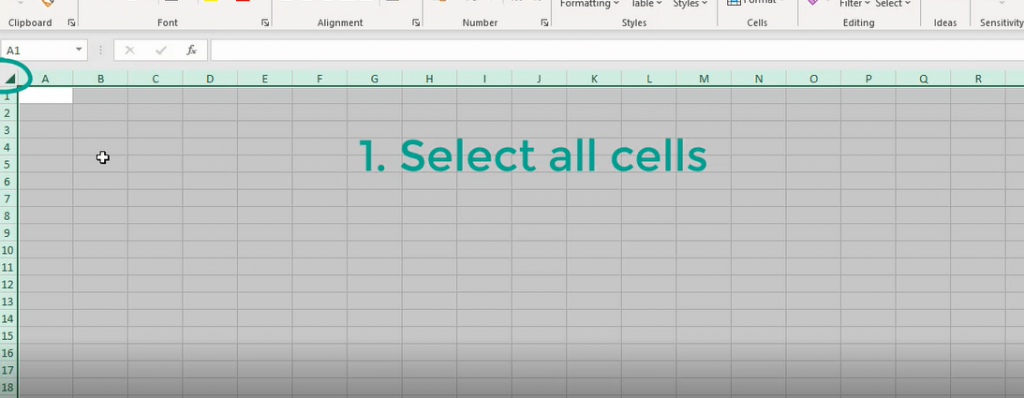
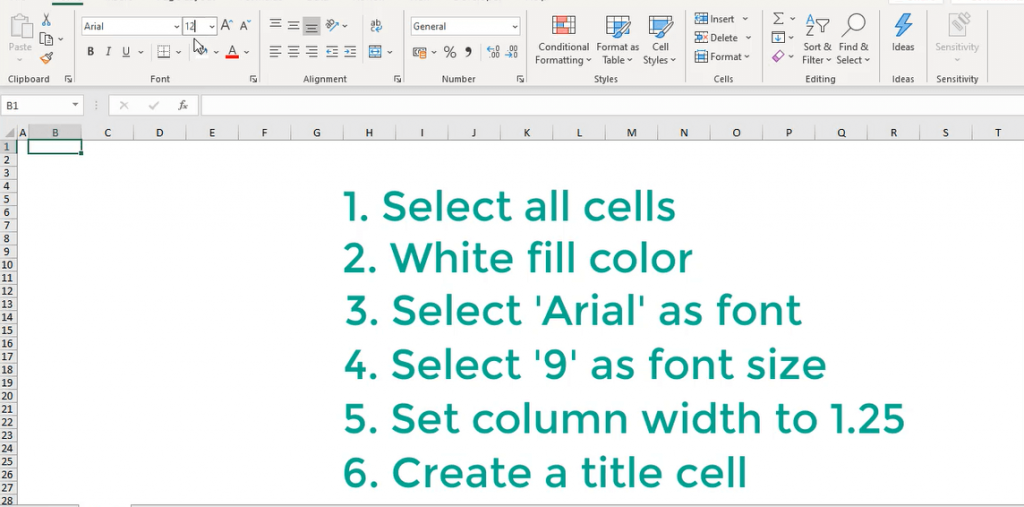
Select the entire worksheet by clicking on this button (this can be done also by clicking Ctrl+ A).
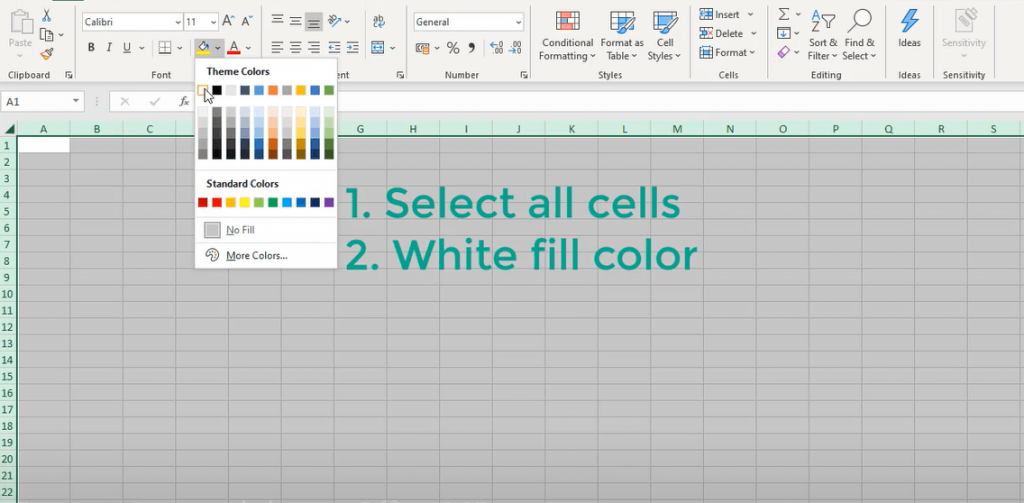
And then assign a white color to the cells of the sheet.
All cells in the sheet become white.
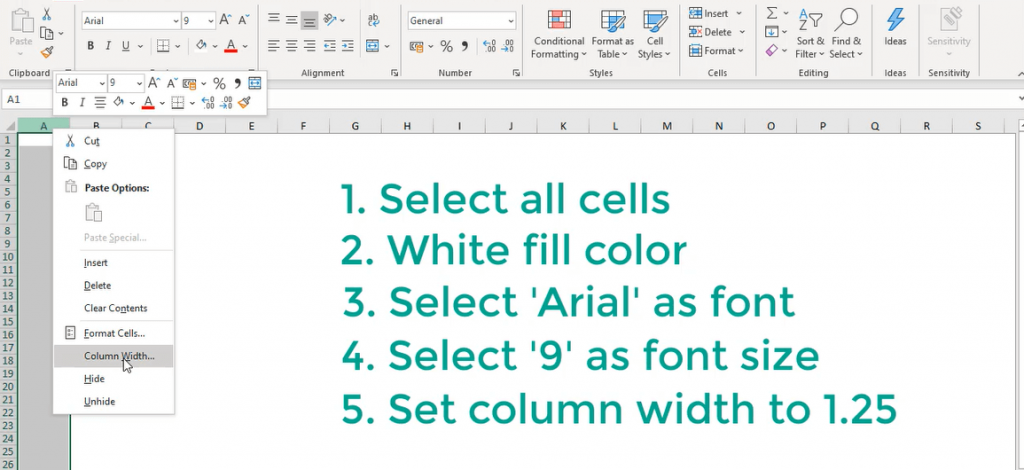
Let’s select Arial as font and 9 as a font size.

The next step will be to reduce the width of the first column. This is done easily; we just have to select the column, right-click on it and choose “Column Width.” Let’s adjust it to 1.25.
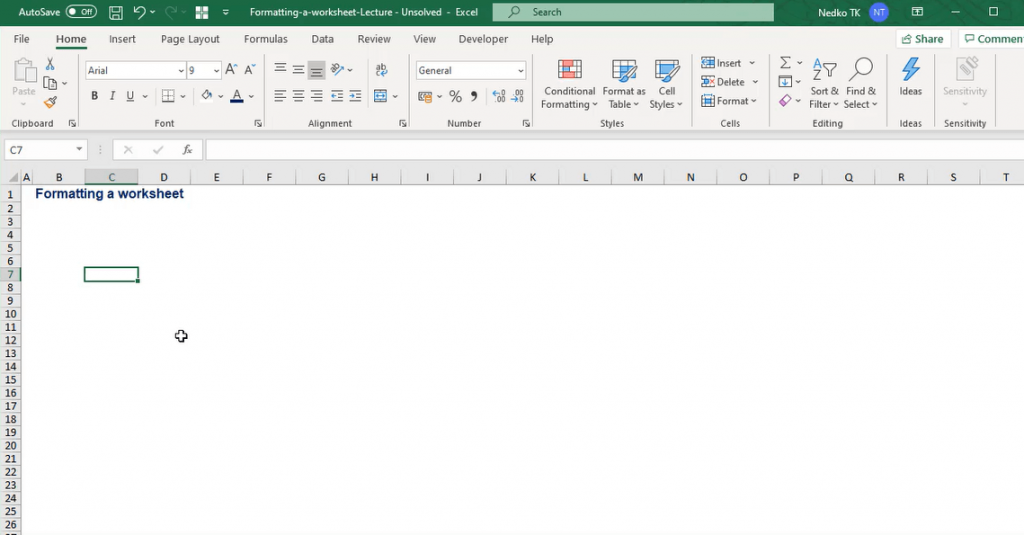
The final correction to be made is to create a title cell on the top of the page in cell B1. I’ll leave the Arial font, but will adjust the font size to 12 and put it in bold. Let’s change the color of the title text as well, picking dark blue. I’ll name the sheet as “Formatting a worksheet.”
Here is our nice sheet, professionally formatted and ready for work.
If you go through our next articles, specifically the one dedicated to macros, you will learn how to perform all these operations with a single click, but let’s not get ahead of ourselves.